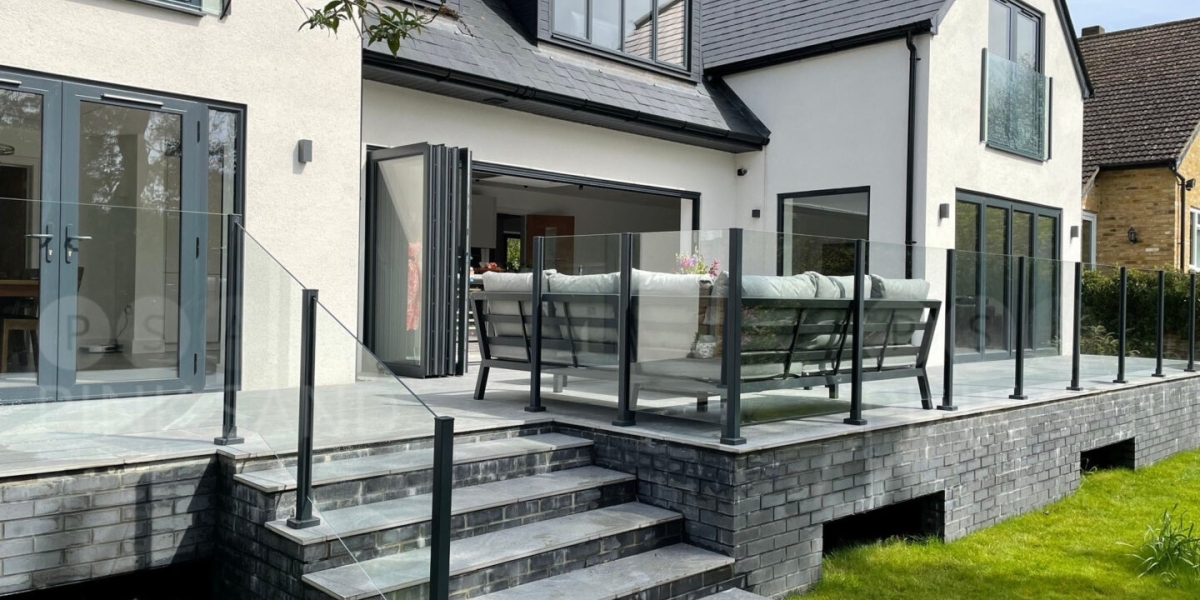
Transform Your Balcony: Essential Tips for Perfectly Installing Railings Safely!
Balcony railings serve as vital elements in any outdoor living space, ensuring both safety and enhancing aesthetic appeal. With the rising trend of home renovations, many homeowners are looking to upgrade their balconies, making it essential to understand how to properly install balcony railings. Not only do they provide a necessary barrier to prevent falls, but they can also complement the overall design of your home. In this article, we will guide you through the significance of balcony railings, the tools and materials required for installation, a detailed step-by-step installation process, and crucial safety considerations to ensure a successful project.
Understanding the Importance of Balcony Railings
Balcony railings are not just decorative; they serve several critical functions. Primarily, they provide safety and support, acting as a barrier to prevent accidental falls. This is especially important for families with children or pets. Furthermore, railings can enhance the aesthetic appeal of a balcony, adding character and style to your outdoor space. It’s essential to consider local building codes and regulations when installing railings, as these laws are in place to ensure safety and structural integrity. For instance, many areas require that railings be a specific height and designed to withstand certain loads. Ignoring these codes can lead to safety issues and potential fines.
Tools and Materials Needed for Installation
Before you begin installing balcony railings, it's crucial to gather all the necessary tools and materials. Essential tools include a drill, level, measuring tape, and a saw. Depending on the type of railing you choose, you might also need brackets, screws, and anchors. As for materials, you can opt for wood, metal, or composite options, each offering unique benefits. Wood provides a classic look but requires regular maintenance. Metal railings offer durability and modern appeal, while composite materials combine the best of both worlds, requiring less upkeep. Ensure you select materials that suit your climate and style preference.
Step-by-Step Guide to Installing Balcony Railings
Installing balcony railings can be a rewarding DIY project if approached systematically. Below is a step-by-step guide to help you through the process.
Preparation
The first step is to prepare the installation area. Begin by measuring the length of the balcony where you plan to place the railings. It’s also essential to check local regulations regarding railing height and spacing. Planning the layout, including the placement of posts and railings, is crucial to ensure a smooth installation process. A friend of mine once undertook a similar project and emphasized how proper planning helped prevent mistakes and saved time.
Installation Process
Once you’ve prepared, it’s time to start the installation. Begin by securing the posts at intervals specified in your design. Use a level to ensure each post is straight before fastening them in place. After all posts are securely installed, attach the horizontal railing sections. It's vital to ensure that everything is stable and secure, providing a solid barrier. You might also want to add additional support brackets to enhance stability, especially in windy areas. During my friend's installation, they discovered that ensuring each component was tightly secured made a significant difference in the overall stability of the railing.
Finishing Touches
Once the railings are installed, you can focus on the finishing touches. Depending on the materials you’ve chosen, consider painting or sealing the railings to protect them from weather elements and enhance their appearance. A fresh coat of paint can also uplift the balcony’s aesthetic. If you opted for wood, applying a suitable sealant will help prevent rot and damage over time.
Safety Considerations When Installing Railings
Safety should always be a priority during any installation project. Be sure to wear protective gear, including gloves and goggles, to safeguard against potential injuries. Before beginning the installation, check the structural integrity of the balcony. Ensure that it can support the additional weight of the railings and the people who will use them. It’s also advisable to work with a partner when installing railings to ensure safety and provide assistance if needed.
Successful Installation: Key Takeaways
In summary, installing balcony railings is an essential project that enhances both safety and aesthetics. By understanding the importance of railings, gathering the right tools and materials, and following a systematic installation process, you can achieve a successful outcome. Remember to prioritize safety throughout the installation and take your time to ensure that every step is executed correctly. With careful planning and execution, your balcony can be transformed into a safe and beautiful outdoor space that you can enjoy for years to come.


