Unlock Your Creativity: Discover the Secrets to Crafting Stunning DIY Temporary Tattoos!
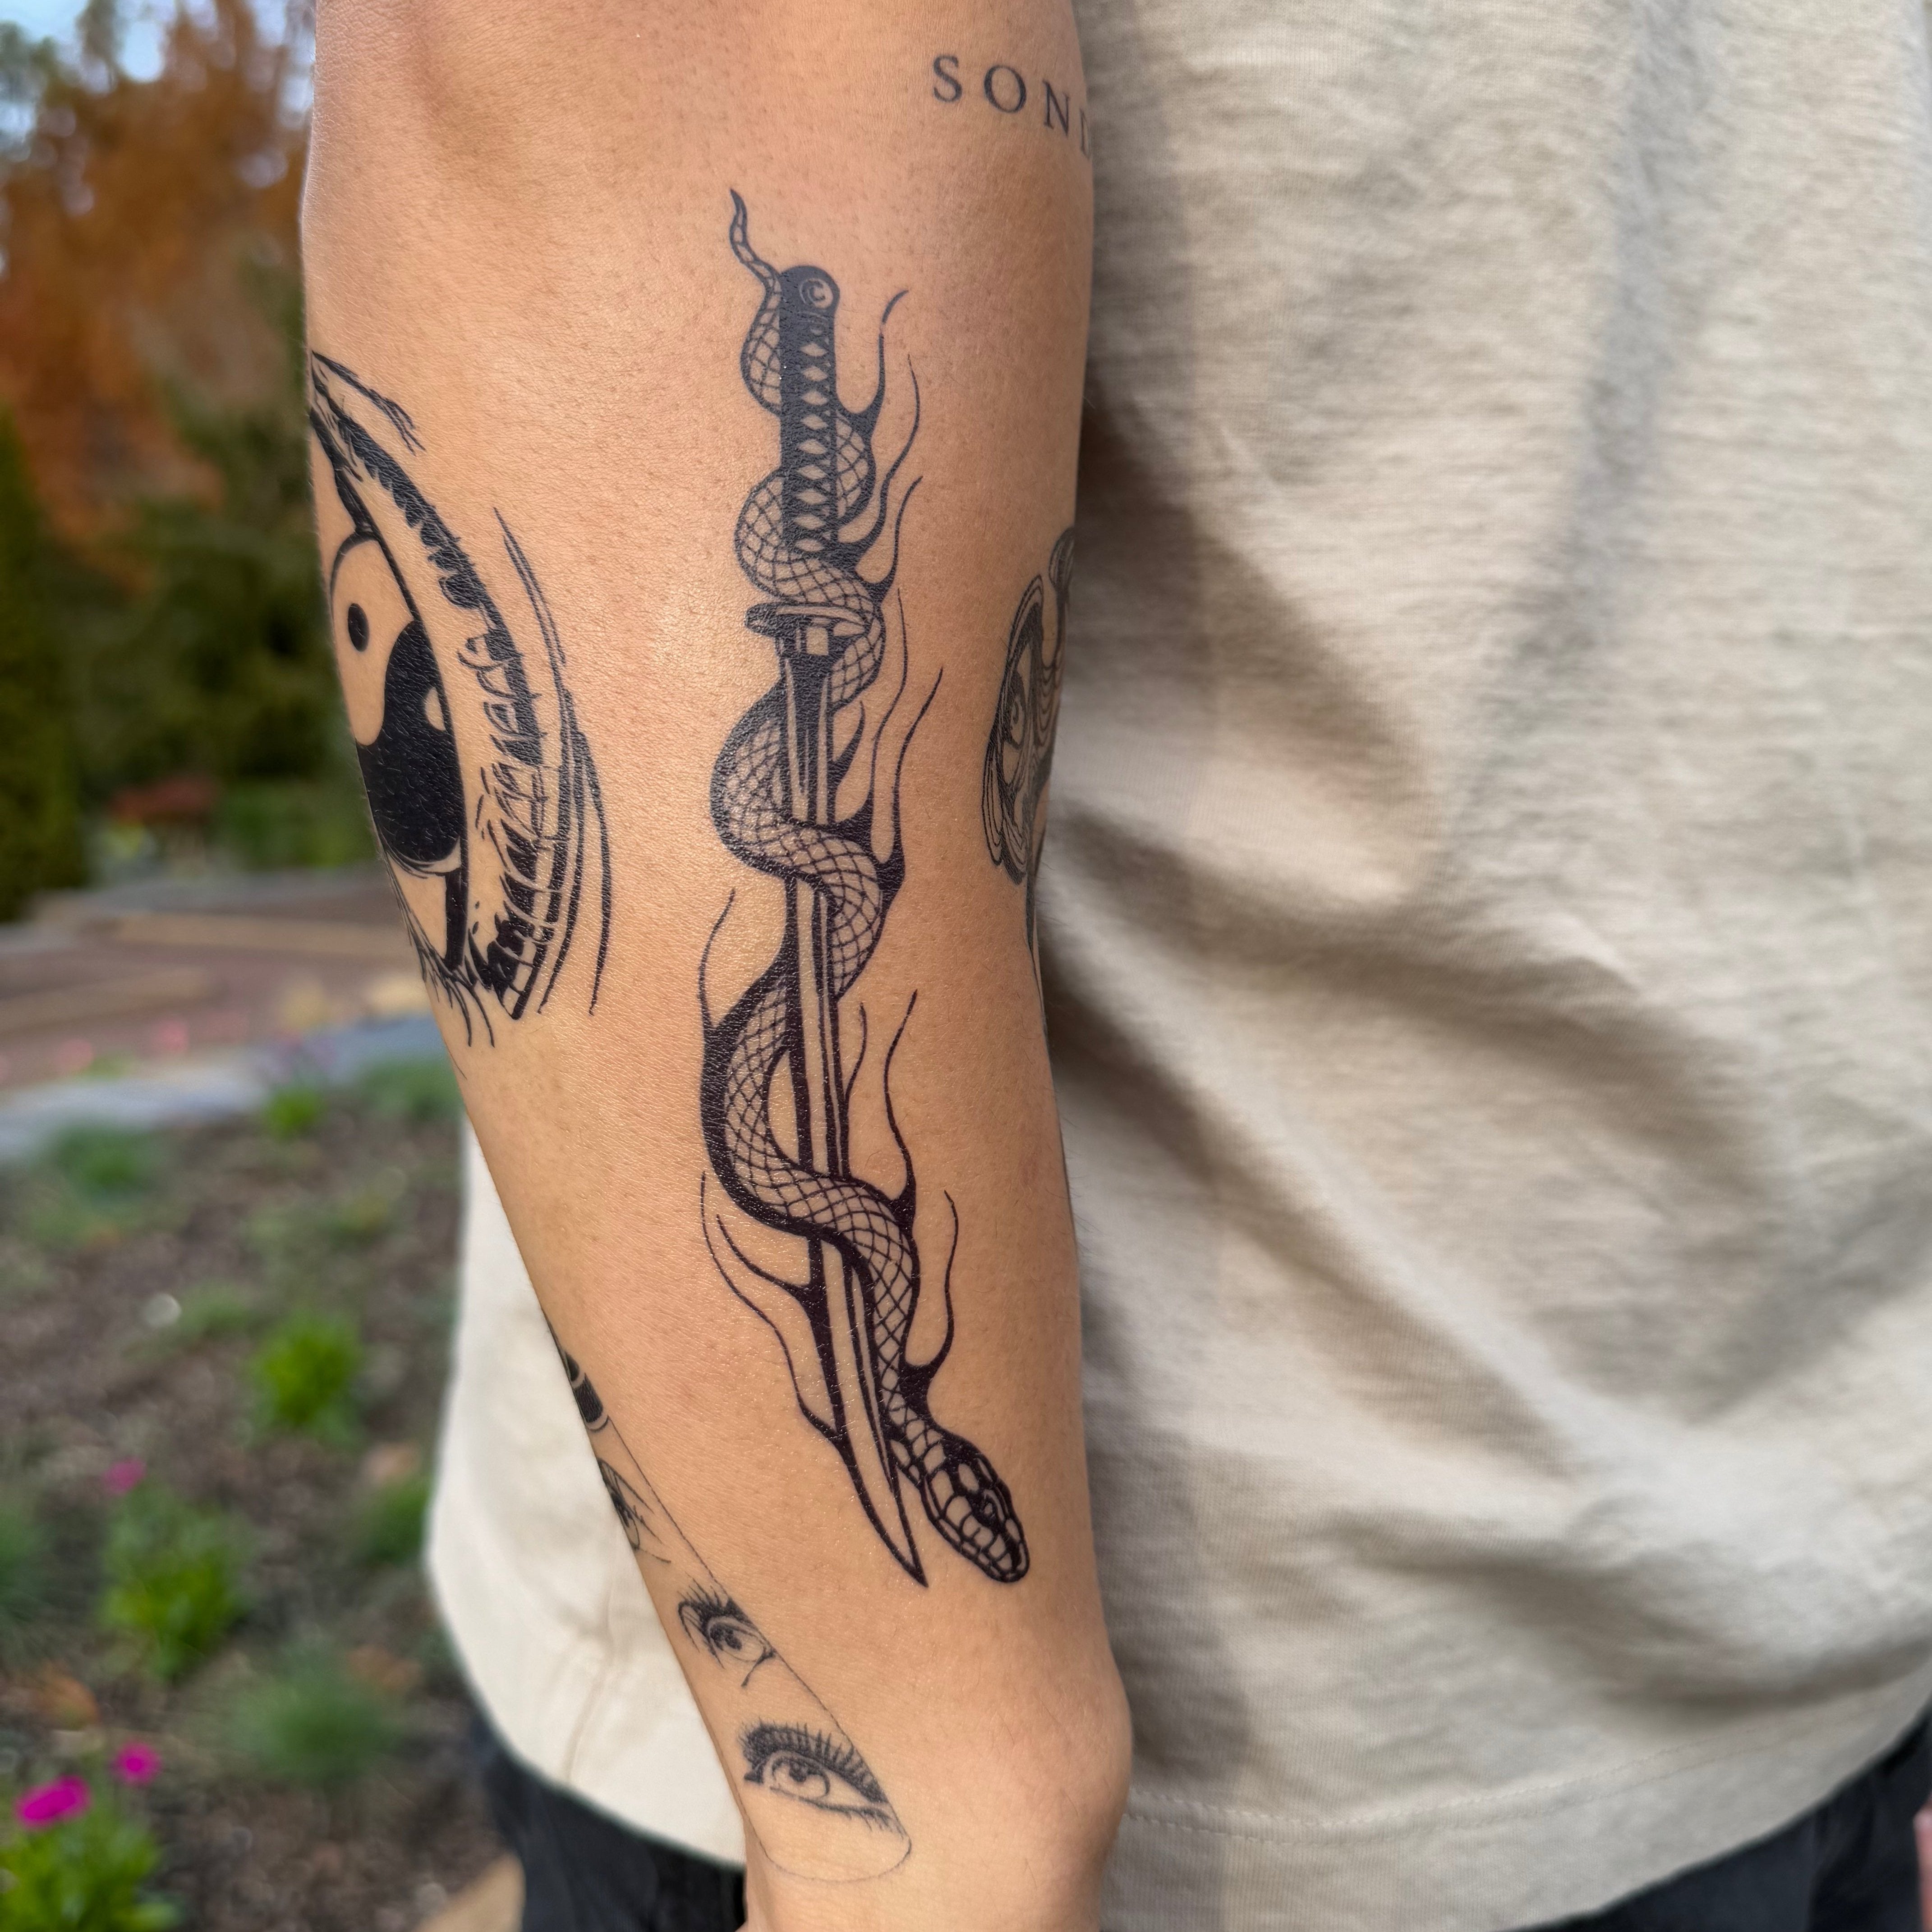
DIY temporary tattoos have taken the world by storm, offering a unique way for individuals to express their creativity and personal style. Whether it’s for a festival, a memorable event, or simply to showcase your artistic flair, temporary tattoos provide a canvas for self-expression that is both fun and versatile. The beauty of DIY temporary tattoos lies in their ability to transform any design, from intricate art pieces to simple symbols, into a wearable statement. Not only do they allow for personalization, but they also serve as a fantastic alternative to permanent tattoos, giving you the freedom to experiment without the long-term commitment. Let's dive into the exciting world of DIY temporary tattoos and discover how you can create your own stunning designs!

Understanding DIY Temporary Tattoos
DIY temporary tattoos are designs created by individuals to be applied to the skin for a short period, typically lasting a few days to a week. They come in various forms, including inkjet-printed tattoos, stencils, and even hand-drawn designs. The allure of crafting your own tattoos lies in the endless possibilities they offer. Unlike pre-made options, DIY tattoos allow for complete customization, letting you draw inspiration from your favorite art styles, quotes, or even personal symbols. Moreover, creating your own tattoos can be a rewarding experience, offering a sense of accomplishment and a way to express your individuality. When my friend Sarah decided to host a themed party, she took it a step further by designing matching temporary tattoos for all her guests, turning the night into a memorable canvas of creativity!
Essential Materials and Tools Needed
To embark on your DIY temporary tattoo journey, you'll need a few essential materials and tools. The first item on your list should be tattoo paper, which is specifically designed for printing temporary tattoos. You can find this at most craft stores or online. Additionally, you'll need suitable inks, which can vary based on the type of tattoo paper you choose—inkjet printers typically require specific types of ink. Other helpful tools include scissors for cutting out your designs, a spray adhesive for application, and a soft cloth for smoothing the tattoos onto your skin. If you're feeling adventurous, consider investing in a digital drawing tablet to create intricate designs directly on your computer. Many art supply stores also carry a variety of skin-safe markers and paints that can be used for hand-drawn tattoos. Remember, the key to successful DIY tattoos is to gather quality materials that will make your creations stand out!
Creative Techniques for Designing Temporary Tattoos
When it comes to designing your own temporary tattoos, the options are only limited by your imagination! One popular method is drawing directly onto tattoo paper or using skin-safe markers to create unique designs. If you prefer a more polished look, stenciling is an excellent choice. You can either purchase pre-made stencils or create your own using craft knives and adhesive sheets. For those who are tech-savvy, designing tattoos digitally can elevate your creations. Programs like digital art software allow you to experiment with colors, shapes, and effects before printing them onto tattoo paper. I recall my friend Jake who used his graphic design skills to create a custom tattoo for his sister's birthday—she was thrilled to wear a design that was both personal and artistic! Don’t hesitate to experiment with different styles; after all, the beauty of DIY is in the freedom to explore and express yourself.
Application and Care Tips for DIY Temporary Tattoos
Once you've designed your temporary tattoos, the next step is application. To ensure they adhere properly and last longer, start by preparing your skin. Clean the area where you plan to apply the tattoo with soap and water, and pat it dry. A smooth, oil-free surface will help the tattoo stick better. Carefully cut out your design, making sure to leave a small border around it. Apply a light layer of spray adhesive to the tattoo and press it onto your skin, smoothing out any wrinkles or air bubbles. After applying, it’s essential to care for your temporary tattoo properly. Avoid scrubbing the area when bathing and try to keep it away from lotions or oils. If you follow these tips, your DIY tattoo can last for several days, giving you ample time to show off your creativity!
Embrace Your Creativity with DIY Temporary Tattoos
In conclusion, crafting your own DIY temporary tattoos is not only a creative endeavor but also a fun way to express your personality. With the right materials, techniques, and a bit of imagination, you can create stunning designs that are perfect for any occasion. Whether you choose to give your friends matching tattoos or create a personal piece of art, the joy of making and wearing your own designs is truly unmatched. So why not gather your materials, unleash your creativity, and start making your own temporary tattoos today? Your skin is your canvas—let it reflect who you are!


