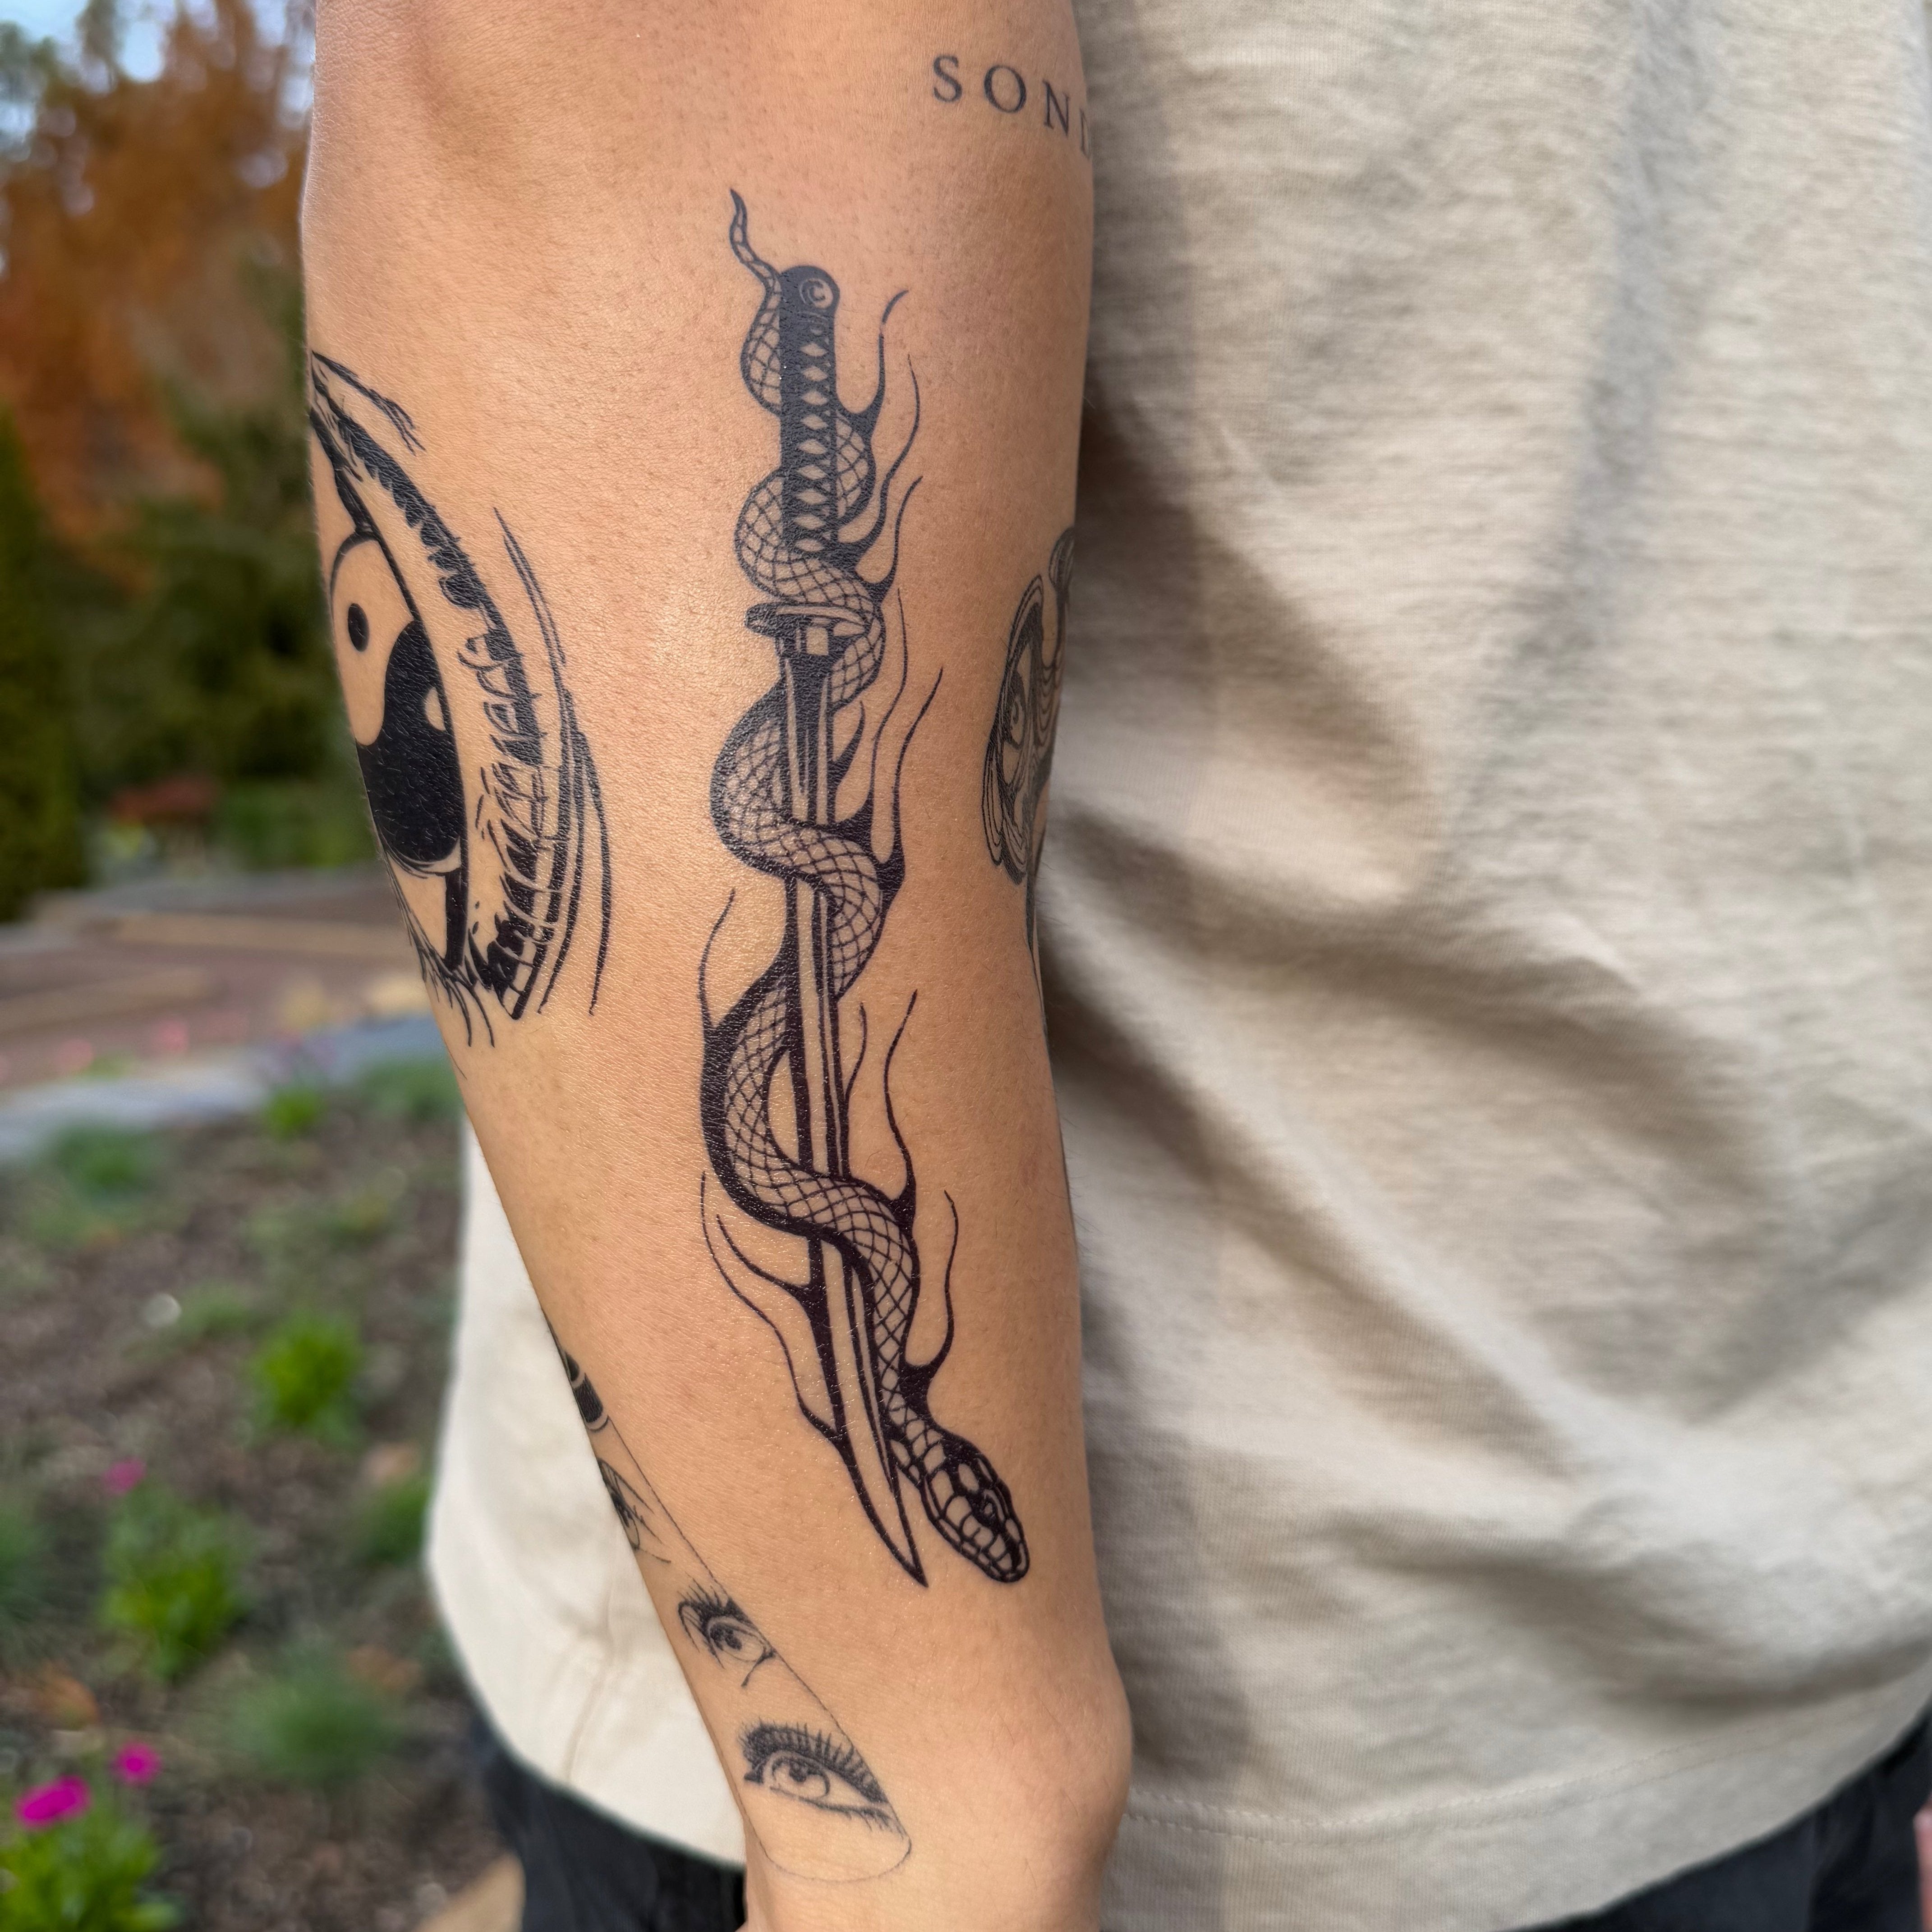
Unlock Your Creative Side: The Ultimate Guide to Crafting Stunning Temporary Tattoos at Home!
Temporary tattoos have surged in popularity, appealing to both the young and the young at heart. They offer a unique way to express oneself without the lifelong commitment of permanent ink. The beauty of DIY temporary tattoos lies in the ability to customize your designs, allowing for creativity and personal expression that store-bought options simply can’t match. Crafting your own tattoos at home is not only cost-effective but also a fun and engaging project. In this guide, you will learn about the various types of temporary tattoos, the essential materials needed for your creative endeavor, a step-by-step process for crafting your own designs, and tips for their care and removal. Get ready to unleash your inner artist!

Understanding Temporary Tattoos
Temporary tattoos are designs applied to the skin that can last anywhere from a few hours to several days. They come in various forms, including water-transfer tattoos, which are often used for quick application and easy removal, and henna tattoos, which are made from natural dyes and can last longer but require more time and skill to apply. While water-transfer tattoos are popular at parties and events for their instant gratification, henna tattoos are often sought after for cultural events and celebrations, appealing to individuals of all ages. The versatility of temporary tattoos makes them ideal for festivals, birthdays, and even just as a fun way to experiment with body art without the long-term commitment.
Essential Materials for DIY Temporary Tattoos
Creating your own temporary tattoos requires a few basic materials. First, you will need tattoo paper, which acts as the canvas for your designs. This paper is available in various styles, including inkjet and laser types, so choose one compatible with your printer. Next, you’ll need the right ink, typically either inkjet or permanent marker ink, which you can use to print or draw your designs. Application tools like sponge applicators or cotton swabs are also essential for smooth application. Lastly, consider using a sealant spray to ensure your tattoo lasts longer. Most of these materials can be found at craft stores, office supply stores, or online retailers.
Step-by-Step Guide to Crafting Your Temporary Tattoo
To create a stunning temporary tattoo at home, follow these simple steps. Start by selecting a design that speaks to you, whether it’s a personal symbol, a favorite quote, or a piece of artwork. You can create your own design using graphic design software or draw it by hand. Once your design is ready, print it onto the tattoo paper; make sure to follow the specific instructions for your paper type. After printing, carefully cut out your design, leaving a small border. To apply the tattoo, clean the skin area where you plan to place it, then peel off the backing of the tattoo paper and position the design onto your skin. Use a damp sponge to wet the tattoo and press down gently for about 30 seconds. After removing the backing, allow the tattoo to dry completely. Troubleshooting tips include ensuring the skin is clean and dry before application and using a sealant if you want a longer-lasting tattoo.
Creative Ideas for Custom Designs
The possibilities for custom temporary tattoo designs are endless! Consider themes that resonate with your interests or experiences. For nature lovers, floral motifs or animal silhouettes can be stunning. Those with a passion for art might enjoy abstract or geometric designs. If you’re celebrating a special event, think about creating tattoos that reflect the occasion, like stars for a night out or hearts for a romantic date. Personalization is key—adding names, dates, or even meaningful quotes can make your tattoo unique. Remember, the goal is to express yourself, so don’t be afraid to think outside the box and experiment with colors and styles!
Care and Removal of Temporary Tattoos
To care for your temporary tattoos, always remember to avoid alcohol and other damaging substances that can dissolve the ink. Keeping the area healthy is important, so moisturize your skin with gentle oil or baby lotion to prolong the lifespan of your tattoo. If you want to remove your temporary tattoos, try rubbing them with alcohol remover or soaking them in warm water without scrubbing. Take care during the washing process to avoid damaging your skin. There are various methods to effectively remove temporary tattoos, so find the one that works best for you.
Embrace Your Creativity with DIY Temporary Tattoos
In summary, crafting DIY temporary tattoos is a fun and creative outlet that allows you to express your individuality. By understanding the types of temporary tattoos, gathering the essential materials, and following a simple process, you can easily create beautiful designs that reflect your personality. With endless design possibilities and the joy of customization, temporary tattoos can add a personal touch to any occasion. So, gather your materials, get creative, and share your experiences or designs with friends and family. Happy crafting!


